


Tutorials > Photoshop > Studio Reflection Page 2
5. Using the Gradient Tool, create a gradient from bottom to top as shown below.
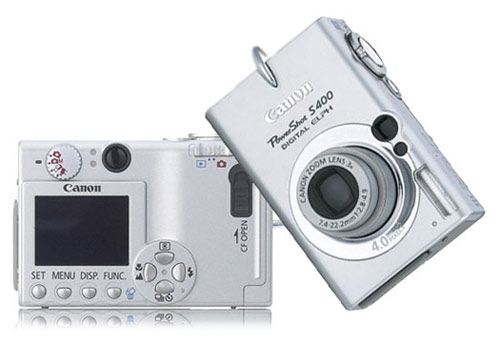
6. Next open up the next image in a new transparent document. Start off by resizing the image down to about 350px wide. In order to be able to overlap this image with the image in the studio shot already created, the background must be removed. Select the Magic Wand Tool, click on the white area around the camera and go to Edit > Cut (Ctrl+X). Now that the image is ready, drag it onto the document containing the professional studio shot that was already started.
7. To bring some excitement to the image, we are going to rotate the front of the camera. Rotate the front view by going to Edit > Free Transform. Rotate the object as shown below until you are happy.
8. Next duplicate the current layer so a reflection can be made. Now go to Edit > Transform > Flip Vertical. Then using the Move Tool, drag the image below the original image. Finally create the reflection using the Gradient Tool as done in Steps 4 and 5.
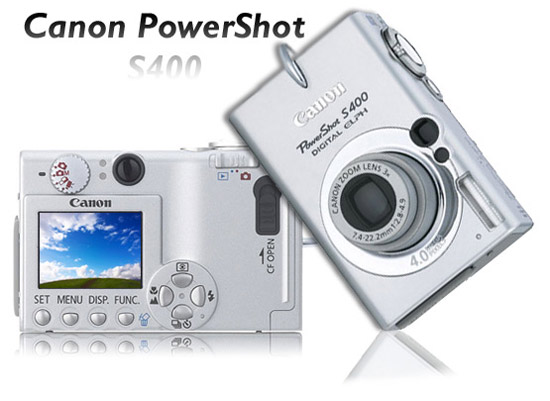
9. Your professional stuido shot is almost done. Go ahead and add a drop shadow to the front view of the camera so its edges appear smoother, add an image to the camera display, and add some text displaying the name of the camera.
Go back to page 1.
Interested in the Canon PowerShot S400? Check out the following links.
- DCRP Review: Canon PowerShot S400 Digital ELPH- Canon PowerShot S400 on PriceGrabber
- Steve's Digicams: Canon PowerShot S400 Review
Affiliates


Resources
