


Tutorials > Photoshop > Professional Web Host Layout Page 2
If the images on this page do not appear, please click here.
8. Duplicate the current layer. Move the layer below the box made in step seven. Use the settings in the images for Drop Shadow, Outer Glow, and Color Overlay.
9. Using the Rectangular Marquee tool, create a large box next to the two boxes you have already made. Select Drop Shadow again. Move the box up underneath the header as done in step 7.
10. You will notice there is a small line at the bottom of your new box that shouldn't be there. So, magnify your image to 200% or larger and create a new layer. Create a selection around the line using the rectangular marquee tool. Fill the selection in white to get rid of the extra line.
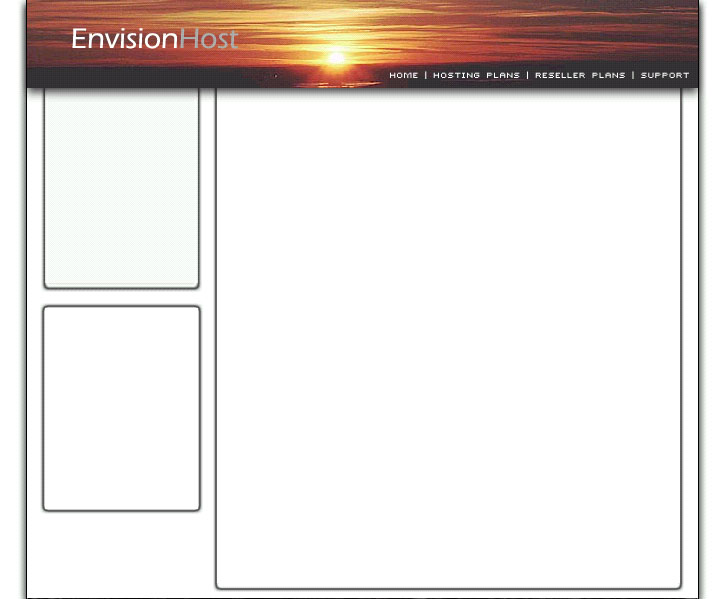
11. Find the picture of the server that you are going to use and place it in each of the two small boxes that the webhosting plans will go in. Make a new layer for each.
12. Pull out the supported by images(php, linux, MySQL, and apache). Place them anywhere in the layout you want. I chose to place them in a row along the bottom.
13. Add some text for the plans and you're almost done. All you have to do is slice it up. (If you don't know how to slice images, see the image slicing tutorial.)
Affiliates


Resources
