

Tutorials > Photoshop > 3D Cubes
Learn how to make stunning 3D cubes.
If the images on this page do not appear, please click here.
Attention Photoshop CS users! The 3D Transform Tool used in this tutorial is not preinstalled in CS. To install the tool, find the goodies folder on the Photoshop CD. Copy the '3D Transform.8BF' file into '((Drive Letter):\Program Files)\Adobe\Adobe Photoshop CS\Plug-Ins\Filters' folder. If you don't have the Photoshop CD, just go to http://www.freeflashmenu.com/3dtransform.htm and download the file. Place the file in the same location mentioned above. With this installed, you should be good to go.1. Start by creating a new image of any size. Then create a new layer and go to Filter > Render > 3D Transform.
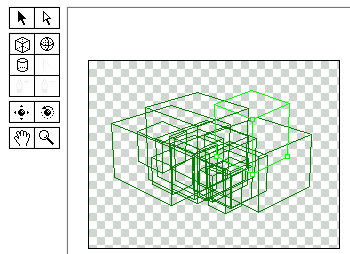
2. Click the cube tool and draw a square somewhere in the image. Then add tons of squares anywhere in the image.

3. Next select the rotate tool. (This is the tool that is directly above the magnify tool.) Click on the image and drag you mouse to rotate the squares to its backside until your squares appear 3D. Then click ok to exit 3D Transform.

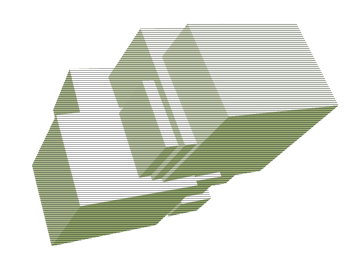
4. That's it! Below I added a simple scanline and changed the Hue/Saturation by pressing Ctrl+U on the keyboard.


