Tutorials > Photoshop > Carving
Learn how to carve a shape into a textured surface.
If the images on this page do not appear, please click here.
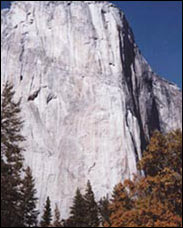
1. Open an image you would like to carve a shape into.
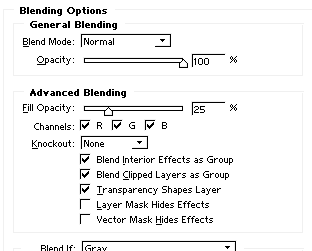
2. Now we are going to add the graphic to be carved. I'm using a Photoshop shape of a fire. Place the grapihc or shape anywhere in the image you would like. Then in your layers window, change the fill for the current layer to 25%.
3. It doesn't look like anything yet, so lets add some blending options. Right-click on the layer with the graphic or shape to be carved and select Blending Options.
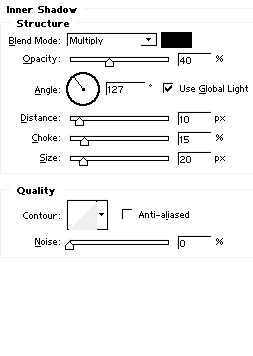
4. Next click on Bevel and Emboss and Inner Shadow.

5. Now click on Color Overlay.
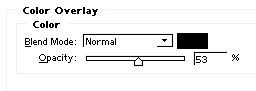
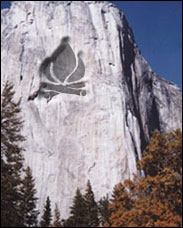
6. The above settings worked best with the image and shape that I used. The best settings can vary greatly depending on your shape and picture used. Therefore you may need to tweak the settings until you are satisfied with your result. Once done, your final image should look similiar to the one below.