


Tutorials > Photoshop > Black Marble
If the images on this page do not appear, please click here.
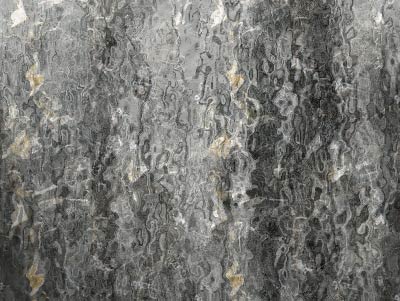
Learn how to create a realistic glossy black marble surface.
1. Create a new 300x300px document with a white background. On a new layer (Shift+Ctrl+N), add a Clouds filter by going to Filter > Render > Clouds. You can repeat the Clouds filter as many times as you like. I'm only chosing to apply the filter once.
2. Next add a Fibers filter by going to Filter > Render > Fibers. Now go to Filter > Render > Ocean Ripple. Use the settings that look best to you or use the settings I've used below.
3. To add the marble texture we are going to alter, click on the little f at the bottom of the layers palette and select Pattern Overlay. Use the following settings below. (If you don't have the Black Marble pattern, click here to download it. To load the pattern, click on the current pattern then click on the small arrow and select load pattern.)
4. Let's spruce up the dull marble. To do this, add a lighting effect by going to Filter > Render > Lighting Effects. Use the settings below. Make sure you select the lighting effect style to Crossing Down and that the one light angles to the left and one angles to the right.
Click here for the finised result.
Feel free to try it again with different settings and patterns.


