


Tutorials > Photoshop > Upscaling Images
Normally enlarging the size of an image means losing image quality. Learn how to quickly enlarge or upscale your digital photos for print with almost no visible quality loss.
Getting Photos Ready for Print
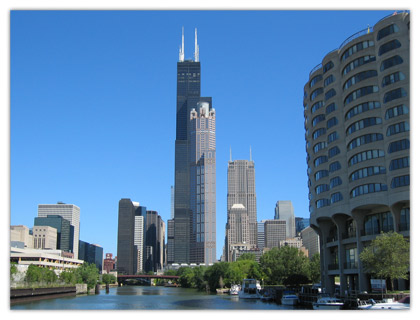
When printing your digital photos, you may decide to get prints larger than the size of the picture you took. This is especially common when using older digital cameras with lower resolutions. Believe it or not, it is very easy to increase the size of your photos with Photoshop in just a few simple steps with almost no visiblie quality loss. In this example I will show how I got the following picture I took a couple years ago ready for an 8x10 print. You can download a copy of this image from sxc.hu. This effect can be applied to any document or image in Photoshop.
Demonstration
1. After opening the image to increase, open the Actions palette if not already open (Alt+F9). Since we will be increasing the size of the image at small increments at a time, it will be benefitual to create an action to do this multiple times until the desired image size has been reached. This will also come in handy for quickly upscaling other images in the future.
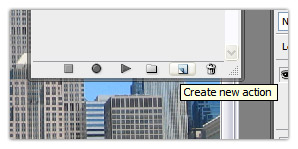
In the bottom-right hand corner of the Actions palette, click on the Create new action button.
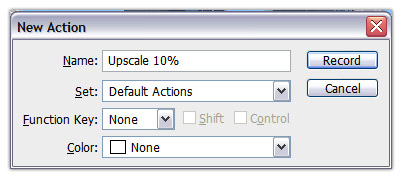
2. Use the following settings for creating the new action. Once done, click the Record button.
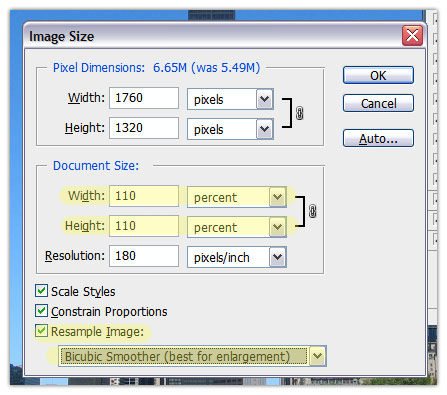
3. Now that the new action has begun to record our changes, we will begin to increase the image size one time gradually using only the Image Size window. Access this window by going to Image > Image Size (Alt+Ctrl+I). With my image, I see that my image is only 8.889 wide by 6.667; I want it to be 10x8. To minimze quality loss, we wil only be increasing the size 10 percent at a time. In the document fieldset within this window, change inches to percent. Then change both the width and height to 110. Lastly, for this effect to work with optimum results, change the selection in the drop down box under Resample image to Bicubic Smoother (best for enlargement). After this has been done, click the OK button.
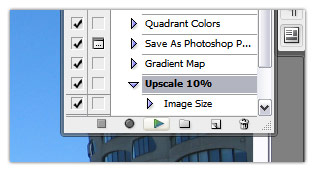
4. You will notice that the image size has been increased slightly. If you look closely it will still be hard to notice any quality loss, which is exactly what we are attempting to acheive. Now that we are done recording our actions, go back into the Actions palette and click the stop button at the bottom of the palette. Go back into the image size window to see if the image is at the desired size. If not, go back into the actions palette where you will see the newly created Upscale 10% action. To repeat this process (to continue to increase or enlarge the image), select the new action and click the play button as many times as necessary.
4. You may get to a point where your image is just slightly larger than the desired size. To get it to the desired final size, you have two options; crop the image or resize it without enforcing scale styles or constrain properties in the Image Size window.
View our entire collection of photoshop tutorials.
PsPrint.com delivers online convenience combined with very competitive prices.


